The moment you pop one of these Patriotic Oreo Balls into your mouth, a symphony of flavors explodes, leaving you craving more. These little bites of joy combine the crunch of Oreos with the creaminess of cream cheese, all cloaked in a festive red, white, and blue candy coating that’s as tasty as it is eye-catching.
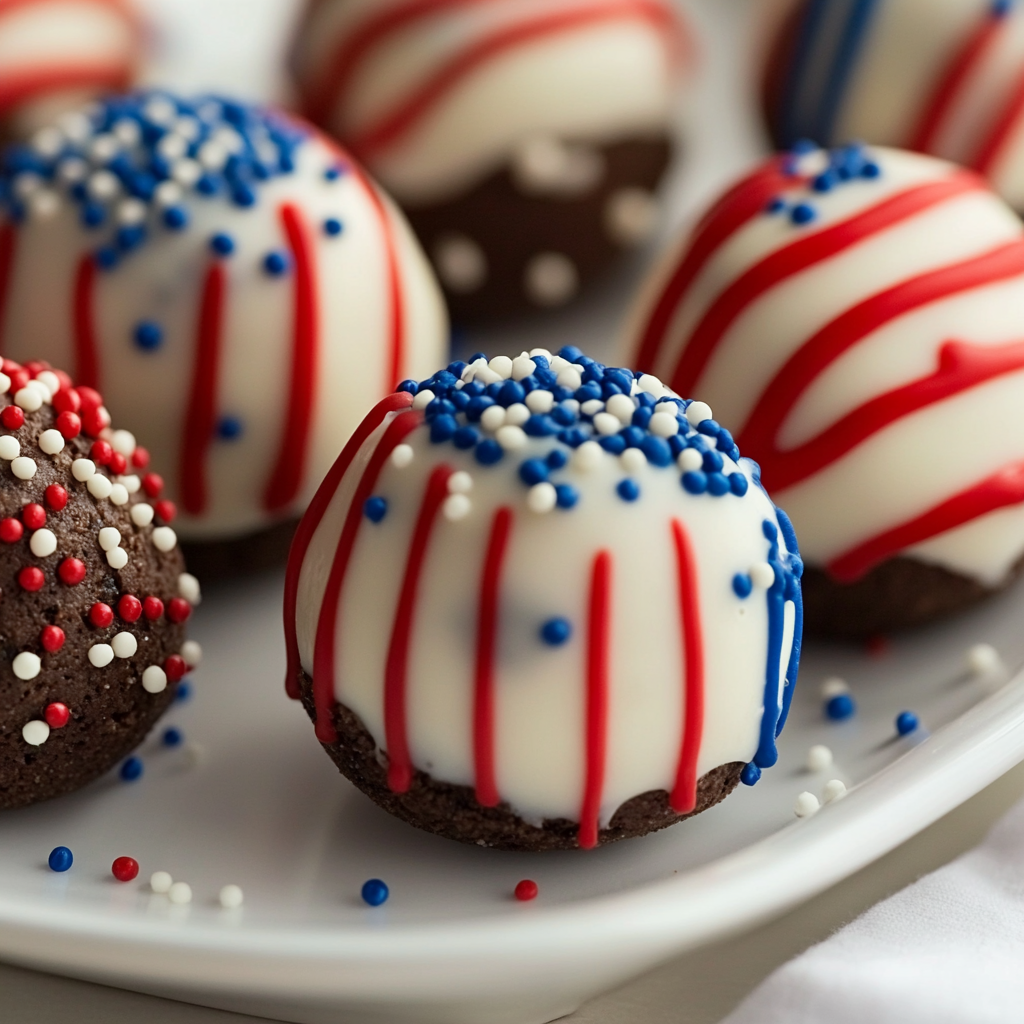
Picture this: your friends and family gather around for a holiday celebration, and as you unveil your dessert masterpiece, gasps of delight fill the room. Everyone can’t resist reaching for just one more—trust me; they’ll be gone faster than you can say “America the Beautiful!” Whether it’s Independence Day, Memorial Day, or a summer barbecue, these Oreo Balls are sure to steal the show.
Why You'll Love This Recipe
- This Patriotic Oreo Balls recipe is incredibly easy to whip up, making it perfect for any last-minute gatherings
- The flavor profile delivers a delightful combination of chocolatey richness and creamy sweetness
- With their vibrant colors, these treats add visual flair to any dessert table
- They are versatile enough to customize for various occasions or personal preferences
I still remember the first time I made these Oreo Balls for a Fourth of July picnic. My friends were literally fighting over the last one!
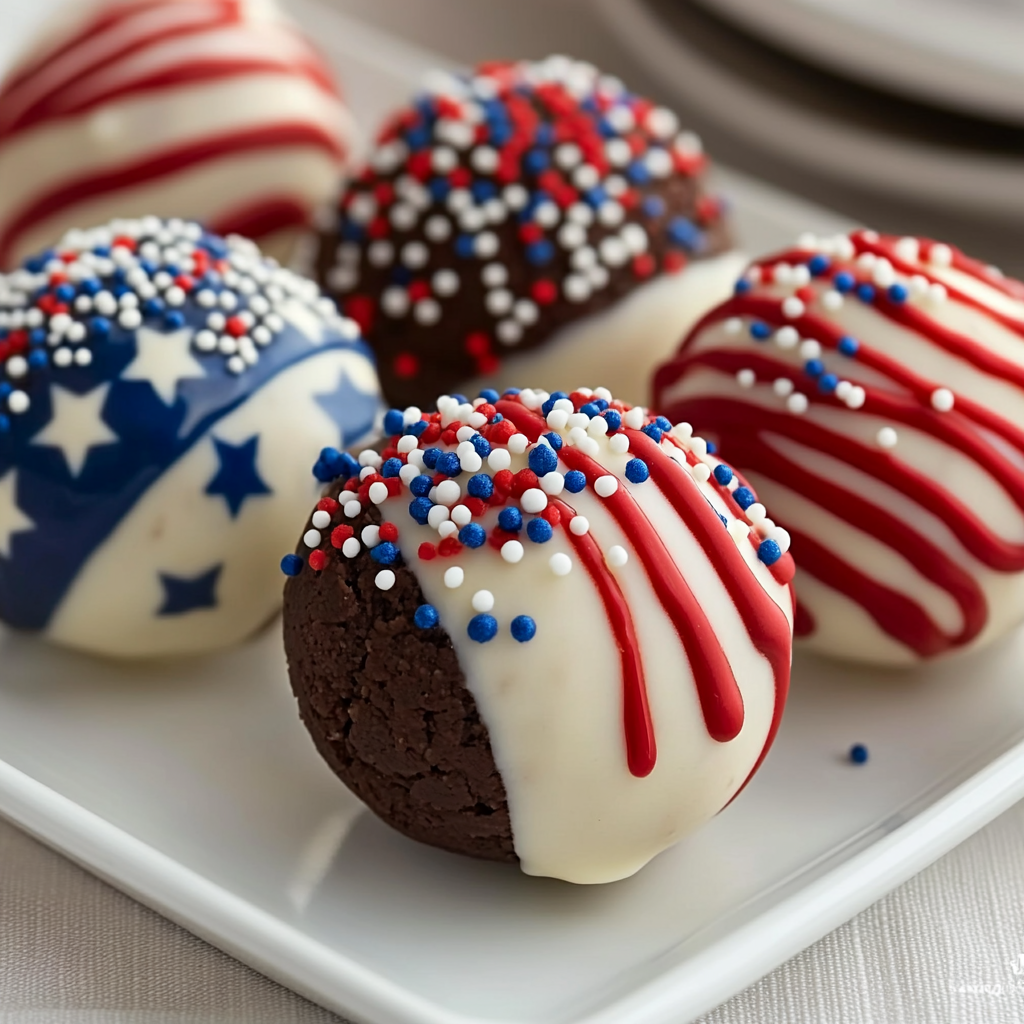
Essential Ingredients
Here’s what you’ll need to make this delicious dish:
Oreo Cookies: Choose classic Oreos for that signature chocolate flavor; feel free to use any variety if you’re adventurous!
Cream Cheese: Softened cream cheese helps bind the mixture together and adds a rich creaminess.
White Chocolate Melts: Use high-quality melts for a smooth coating that hardens beautifully on the outside.
Red and Blue Candy Melts: These colorful melts will give your Oreo Balls their patriotic flair—perfect for festive occasions.
Sprinkles (optional): Fun sprinkles will add an extra layer of color and texture; go wild with your choices!
The full ingredients list, including measurements, is provided in the recipe card directly below.
Let’s Make it together
Crush the Oreos: Start by placing the Oreos in a food processor and pulse until finely crushed. You want them to resemble sandy beach texture—no big chunks allowed!
Add Cream Cheese: In a large bowl, mix the crushed Oreos with softened cream cheese until well combined. The mixture should be thick yet malleable; get ready to roll those balls!
Form into Balls: Scoop out tablespoon-sized portions and roll them into balls with your hands. Aim for uniformity here; consistency makes them look better on display.
Chill Out!: Place your formed balls onto a baking sheet lined with parchment paper. Chill them in the refrigerator for about 30 minutes until firm enough to handle.
Melt Your Coating: While waiting, melt your white chocolate melts according to package instructions. Stir until smooth and glossy; this is where magic begins!
Dip & Decorate!: Dip each chilled ball into melted chocolate using a fork. Allow excess to drip off before placing them back on parchment paper. While still wet, sprinkle with festive toppings if desired.
Once everything has set (about 30 minutes), they are ready to be devoured!
These Patriotic Oreo Balls are not only a delight to eat but also bring everyone together in joyous celebration. So go ahead and share these delicious bites at your next gathering—they’re bound to become an instant favorite!
You Must Know
- The Patriotic Oreo Balls Recipe is a fun and festive treat, perfect for any celebration
- These delightful no-bake bites are easy to make and customizable, allowing you to add your unique twist while still keeping the vibrant red, white, and blue theme
Perfecting the Cooking Process
To achieve the ultimate Oreo balls, start by crushing the cookies finely, then mix with cream cheese until smooth. Chill before dipping in chocolate for a perfect coating.
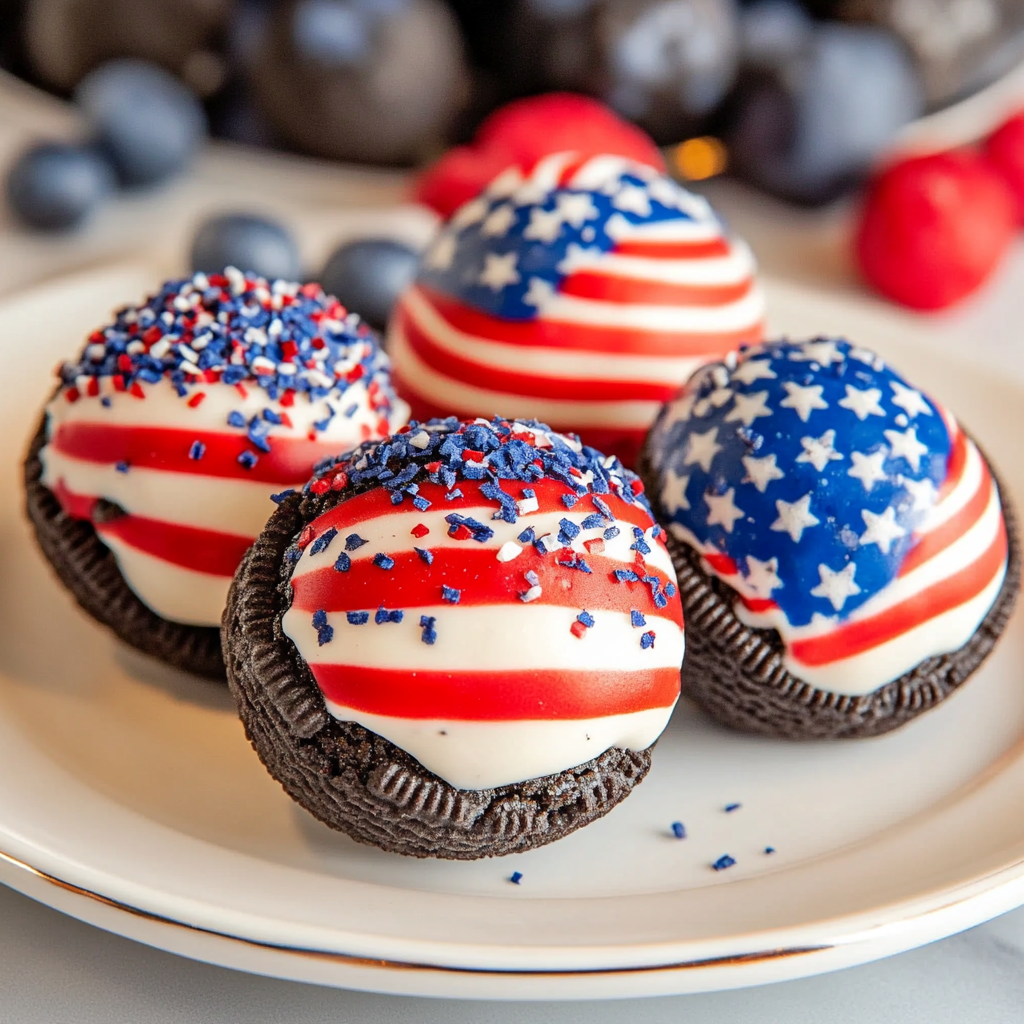
Add Your Touch
Feel free to swap out cream cheese for mascarpone for a richer taste or use different colored candy melts for diverse designs. Get creative with toppings like sprinkles or crushed nuts!
Storing & Reheating
Store Oreo balls in an airtight container in the fridge for up to a week. For best flavor, enjoy them cold; reheating isn’t necessary and might ruin their texture.
Chef's Helpful Tips
- For optimal blending, ensure that the cream cheese is at room temperature before mixing
- Use high-quality chocolate for dipping to elevate taste and visual appeal
- Don’t rush the chilling process; it helps them firm up beautifully!
There’s nothing quite like watching friends and family devour these treats at gatherings! I once made these for a Fourth of July picnic, and they vanished within minutes—definitely a recipe I’ll make again.
FAQ
What is the best way to crush Oreos?
Use a food processor or place them in a zip bag and crush with a rolling pin.
Can I use low-fat cream cheese?
Yes, low-fat cream cheese works but may alter the texture slightly.
How long do Oreo balls last in the fridge?
Oreo balls can be stored in the fridge for up to one week without losing flavor.
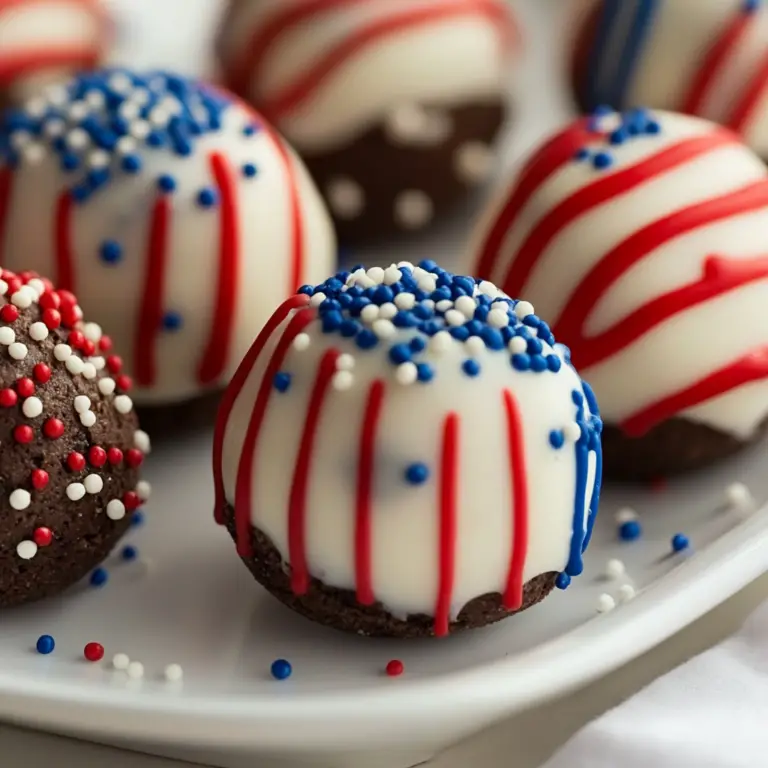
Patriotic Oreo Balls
Indulge in the deliciousness of Patriotic Oreo Balls, a delightful no-bake dessert that combines the rich flavors of classic Oreos and creamy cream cheese. Coated in vibrant red, white, and blue candy melts, these treats are perfect for summer barbecues, Independence Day celebrations, or any festive gathering. With their eye-catching appearance and irresistible taste, they’re sure to be the star of your dessert table!
- Total Time: 30 minutes
- Yield: Makes about 24 servings 1x
Ingredients
- 1 package (15.35 oz) Oreo cookies
- 8 oz cream cheese, softened
- 1 cup white chocolate melts
- ½ cup red candy melts
- ½ cup blue candy melts
- Optional: Sprinkles for decoration
Instructions
- Crush Oreo cookies in a food processor until finely ground.
- In a bowl, combine crushed Oreos with softened cream cheese until well mixed.
- Roll mixture into tablespoon-sized balls and place on a parchment-lined baking sheet.
- Chill balls in the refrigerator for 30 minutes to firm up.
- Melt white chocolate according to package instructions; then dip each ball in the melted chocolate and return to the baking sheet.
- While still wet, add red and blue candy melts as decoration if desired.
- Allow coating to set for about 30 minutes before serving.
- Prep Time: 20 minutes
- Cook Time: 10 minutes
- Category: Dessert
- Method: No-bake
- Cuisine: American
Nutrition
- Serving Size: 1 serving
- Calories: 150
- Sugar: 13g
- Sodium: 55mg
- Fat: 9g
- Saturated Fat: 5g
- Unsaturated Fat: 4g
- Trans Fat: 0g
- Carbohydrates: 16g
- Fiber: 0g
- Protein: 2g
- Cholesterol: 15mg

